 Ferndale
 Building New in Sudden Valley: Windows Are Not an Afterthought
If you're framing a new home in Sudden Valley, the windows are one of the few components that have to perform two jobs at once: keep the weather out for the next 30-plus years, and integrate cleanly with everything around them — siding, house wrap, flashing, and trim. Get that integration right at the framing stage and you rarely think about it again. Get it wrong, and you're chasing leaks behind the siding years later, often after real damage has already happened where you can't see it.
New-construction window installation is fundamentally different from replacing a window in an existing wall. On a new build, the window goes in before the exterior finish, which means the installer is also responsible for building the water management system around the opening — not just setting a unit into a hole. In a place like Sudden Valley, where wind-driven rain and long stretches of damp, shaded weather are the norm, that water management detail is what separates a window that lasts from one that doesn't.
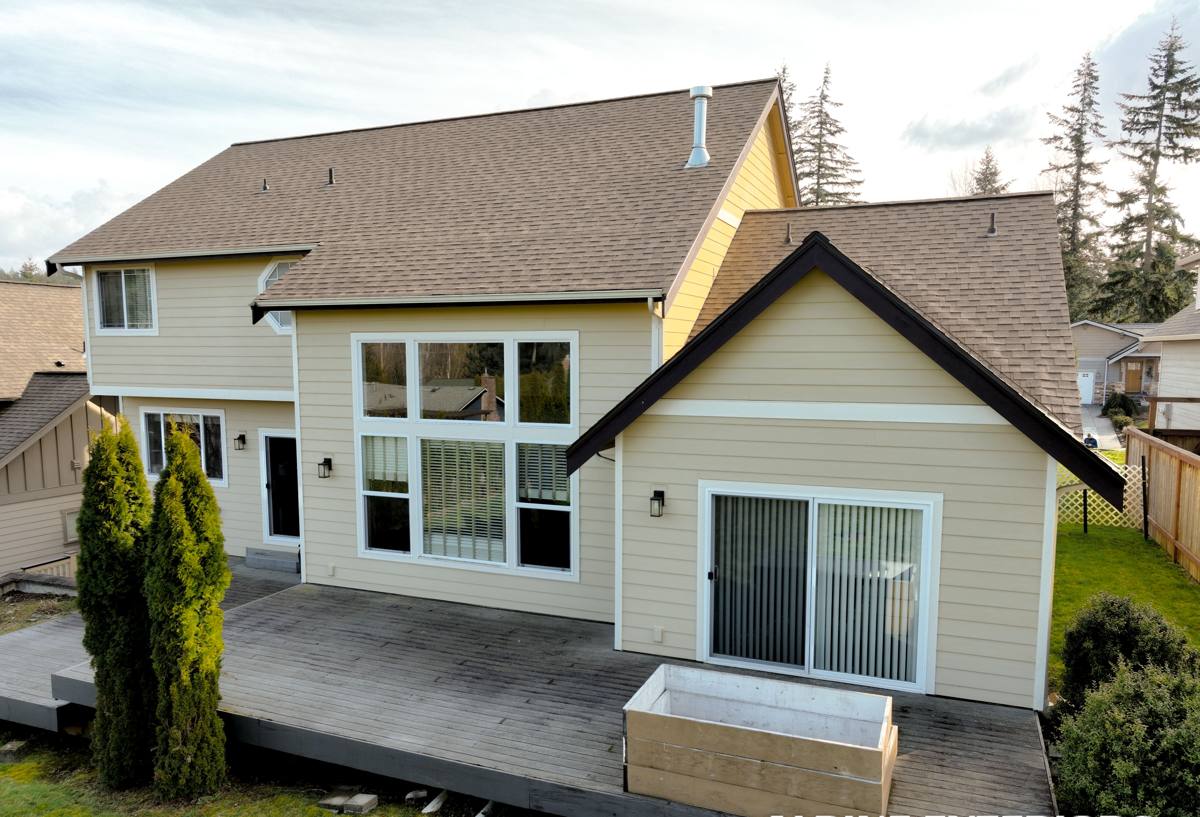
What Whatcom County's Climate Demands From New Windows
Whatcom County sits in a marine climate zone, and homes here deal with a specific combination of stresses that drier or more inland regions don't:
- Salt-tinged marine air. Moisture-laden air off the Salish Sea corrodes bare fasteners, degrades cheap sealants faster, and accelerates wear on unprotected metal flashing and hardware.
- Driving, wind-pushed rain. Storms here don't just fall straight down — wind pushes rain sideways into wall assemblies, which means flashing and sealant details matter far more than they would in a calm-rain climate.
- A long moss and algae season. Shaded, tree-covered lots (common throughout Sudden Valley) stay damp for months at a time. Anything that traps moisture against a window frame or the siding around it becomes a growth surface.
None of this means new-construction windows in this area are more complicated to install correctly — it means there's less room for shortcuts. A flashing detail that would be a minor cosmetic miss in Arizona can become a rot problem here within a few wet seasons.
Why Sudden Valley Specifically
Sudden Valley's tree cover, lot grading, and proximity to the lake mean many homes get less direct sun and more standing humidity around the building envelope than a comparable lot in open country. That's good for shade and privacy, but it also means wall assemblies dry out more slowly after a storm. New-construction windows here need installation details that assume the wall behind the siding will stay damp longer than average — proper drainage planes and flashing laps aren't optional extras, they're the baseline.
What a Correct New-Construction Window Installation Actually Involves
A window is only as good as the opening it sits in. On a new build, the sequence matters as much as the window itself:
- Rough opening prep. Framing must be square, plumb, and sized correctly with proper shim space — an out-of-square opening stresses the window frame and can cause operational problems (sticking sashes, poor seal) for the life of the window.
- Sill pan flashing. A sloped, sealed pan at the base of the opening gives any water that gets past the window a way out, rather than a place to pool and soak into the framing.
- Water-resistive barrier integration. The house wrap or building paper has to be layered with the window flashing in the correct shingle-lap order — top piece over the one below it — so water is always directed outward and downward, never trapped behind a lap.
- Window installation and fastening. Set to manufacturer specification, shimmed correctly, and fastened per the window's approved installation instructions — this is also what keeps the manufacturer's warranty valid.
- Head flashing and jamb flashing. Properly lapped flashing above and beside the window sheds water around the opening instead of letting it run behind the frame.
- Interior and exterior sealant. Backer rod and quality sealant at the right joints — not everywhere, since over-sealing can trap moisture instead of letting an assembly manage and release it.
- Siding integration. Trim and siding are brought up to the window in a way that keeps the drainage plane continuous, so water shed by the siding above the window doesn't dead-end at the window head.
Skip or rush any one of these steps and the window itself — even an excellent one — becomes the weak point in the wall.
New-Construction vs. Replacement: Why the Distinction Matters
Homeowners sometimes assume any window contractor can handle new construction because they handle replacements all the time. The two jobs share a product but almost nothing else:
| Factor | New-Construction Install | Replacement/Retrofit Install |
|---|---|---|
| Access to framing | Open stud bay, full access to sheathing and WRB | Existing wall finish limits access; often insert-style |
| Flashing responsibility | Installer builds the full flashing and drainage system | Working around, and tying into, existing (sometimes failed) flashing |
| Nailing fin vs. block frame | Nailing-fin windows common, integrated with WRB directly | Often block-frame or insert to preserve existing trim |
| Coordination needed | Must sequence with framer, siding crew, and WRB installer | Standalone job, minimal trade coordination |
| Failure point if done wrong | Hidden behind finished siding — often not found for years | Usually visible sooner around the existing opening |
Because new-construction work is largely invisible once the siding goes on, the quality of the flashing and integration work is almost entirely dependent on the crew's discipline — there's no easy way for a homeowner to verify it after the fact without opening up the wall.
Choosing Window Products for This Climate
We don't push one brand as the only acceptable choice — there are several manufacturers that hold up well in Western Washington conditions when specified and installed correctly. What we do steer clients away from are frame materials and configurations that carry known trade-offs in a wet, moss-prone climate: for example, bare wood exteriors without a durable cladding require far more upkeep here than a clad or composite option, and low-grade vinyl in dark colors can warp under thermal cycling. We'll walk through the honest trade-offs for your project rather than defaulting to whatever's cheapest to install.
| Frame Type | Moisture Behavior | Maintenance | Typical Cost Range |
|---|---|---|---|
| Vinyl | Good; won't rot, but seams need quality welds | Low | Lower |
| Fiberglass | Excellent dimensional stability in wet/cold swings | Low | Mid-to-higher |
| Wood-clad (vinyl or aluminum exterior) | Good if cladding and flashing detail are correct | Moderate (interior wood finish) | Higher |
| Bare wood | Poor without diligent upkeep in this climate | High | Varies |
| Aluminum | Durable but conducts cold; needs a thermal break | Low | Mid |
Cost ranges vary by size, glazing package, and hardware — we'll give you real numbers for your specific window schedule during an estimate rather than a generic per-window figure that doesn't mean much.
Our Process for New-Construction Window Installation
We work directly with builders, framers, and homeowners managing their own build, and we sequence our work to fit the rest of the job:
- Review the window schedule and rough opening sizes against the actual framing before install day
- Confirm WRB (house wrap) is installed and lapped correctly before we flash a single opening
- Install sill pan flashing at every opening, no exceptions
- Set and shim each window to manufacturer spec, fasten per approved schedule
- Install head and jamb flashing in correct shingle-lap sequence
- Photo-document flashing details before siding covers them, for your records
- Coordinate hand-off with the siding crew so the drainage plane stays continuous
- Final walkthrough of operation (open/close/lock) on every unit before we call the job done
Why Hiring a Crew That Already Works in Sudden Valley Matters
A window flashing detail that works fine in a dry climate can fail here simply because it wasn't built for the amount of driving rain and prolonged dampness Whatcom County sees. Crews who work this area regularly already know which flashing sequences hold up through a real Pacific Northwest winter, which siding transitions tend to trap moss and moisture, and how local grading and tree cover around Sudden Valley lots affect how long a wall stays wet after a storm. That's not something you can fully learn from a manufacturer's install manual — it comes from doing the work here, in this weather, repeatedly.
There's also a practical scheduling advantage: a crew based in the area can work around the weather windows that actually matter for a clean, dry installation, instead of forcing flashing and sealant work during a stretch of rain because the schedule says so.
What to Expect After Installation
New-construction windows installed correctly should need very little from you for years. A short annual check keeps it that way:
- Inspect exterior caulk lines each spring for cracking or separation
- Clear debris and moss buildup from window sills and adjacent trim before it holds moisture
- Test operation of opening sashes and locks once a year
- Check weep holes (on vinyl and aluminum units) stay clear so water can drain out
- Watch for soft trim or discoloration below sills — an early sign worth having looked at
If something does need attention, catching it early — while it's a caulk touch-up instead of a rot repair — is almost always the difference between a small job and a big one.
Get a Straight Answer for Your Project
Every new build is different, and the right window and flashing approach depends on your specific plans, lot conditions, and siding choice. If you're framing a new home in Sudden Valley and want a straightforward, no-pressure look at what your window installation should involve, we're happy to walk the plans with you and give you a real estimate — no upsell, just an honest read on what your home needs.