 Ferndale
 New-Construction Windows Built for Birch Bay's Waterfront Exposure
Birch Bay sits right on the water, and that changes what a window install needs to survive. Salt-laden air corrodes hardware and finishes faster than it does even a few miles inland. Wind-driven rain off the Strait pushes water sideways into gaps that would stay dry on a more sheltered lot. And Whatcom County's long, damp shoulder seasons keep wood trim and sill areas wet for weeks at a stretch, which is exactly the environment moss and rot organisms want. New-construction window work — where the window goes in before siding, house wrap, and trim close everything up — is the one chance to get the flashing and water management right before it's buried behind finish materials. Get it wrong here and the fix later means tearing into siding you just paid for.
We're a Ferndale-based crew that works Birch Bay regularly, alongside jobs throughout Whatcom County. That matters more than it sounds like it should, because the correct install detail for a new-construction window changes depending on wall assembly, exposure, and how much weather a given elevation actually takes — and Birch Bay's oceanfront and near-shore lots take more than most of the county.
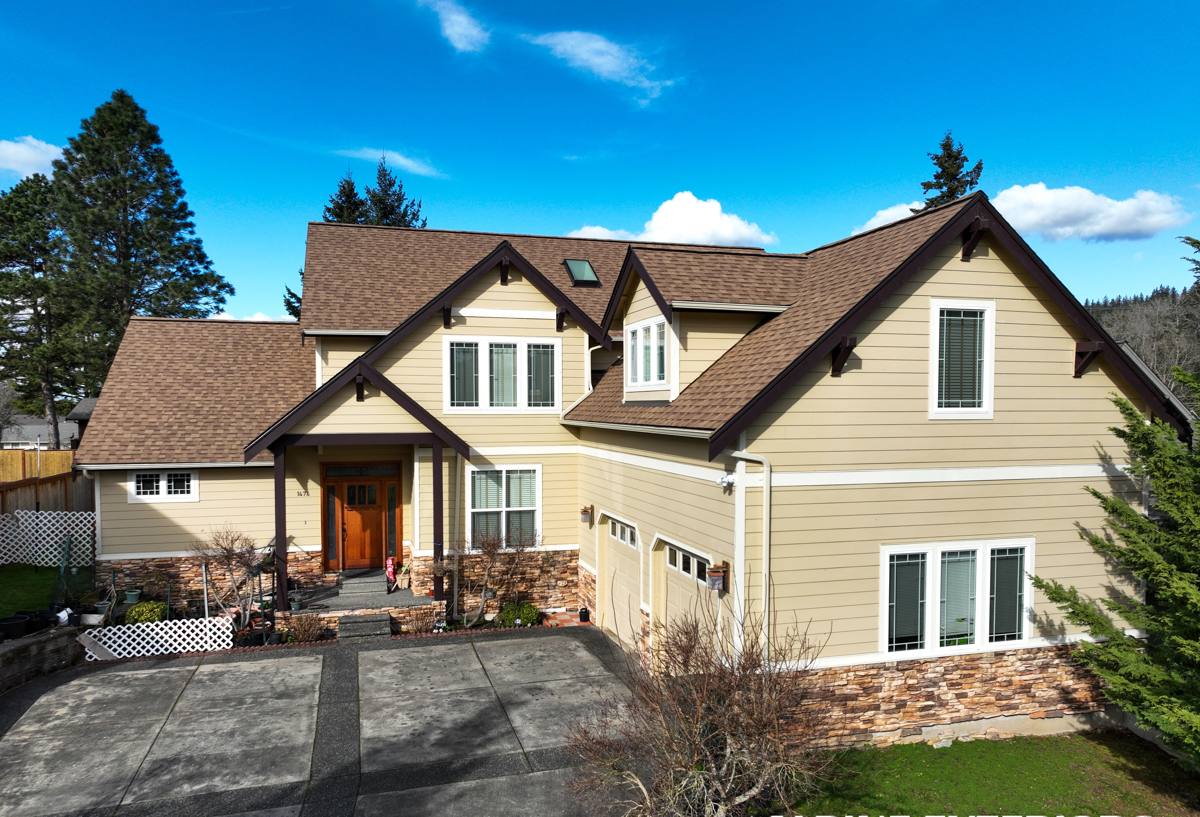
What "New-Construction" Actually Means Here
New-construction windows have a nailing fin around the perimeter that gets fastened to the sheathing and integrated into the weather-resistive barrier before siding goes on. That's different from a retrofit or "pocket" replacement window, which fits inside an existing frame with the old exterior trim staying put. On a new build or an addition in Birch Bay, we're doing the full assembly: window unit, flashing, sealant, and integration with the house wrap — in the correct shingle-lap order so water sheds down and out, never into the wall.
Why the Sequence Matters More Near the Water
Every layer in a window opening has to overlap the one below it, the same way roof shingles do, so any water that gets past the glass or the trim runs down and off the wall instead of behind it. On a sheltered inland lot, a minor sequencing mistake might not show up for years. On a Birch Bay elevation facing open water or prevailing wind, the same mistake can show up as a stain or soft spot within a season or two, because the wall is taking direct, repeated wind-driven rain instead of occasional vertical rainfall.
The Salt Air and Moss Factor
Two regional conditions drive most of the decisions we make on a Birch Bay window install:
- Salt air corrosion: Cheap or mismatched fasteners, hinges, and cladding-to-window trim pieces corrode faster this close to the water. We spec corrosion-resistant fasteners and hardware rated for coastal exposure rather than standard-grade parts, and we watch for galvanic reactions between dissimilar metals at flashing and trim connections.
- Moss and sustained moisture: Whatcom County's wet season runs long, and north- or shaded-side openings can stay damp for extended stretches. Moss and algae need sustained moisture and organic material to take hold, so keeping sill areas properly sloped, flashed, and free of trapped debris paths matters as much as the initial seal.
Neither of these is exotic — they're just the reason a "good enough for most of the state" install detail isn't good enough on a Birch Bay lot with real wind and water exposure.
What a Correct Install Involves
Rough Opening and Flashing
Before the window ever goes in, the rough opening gets a sloped sill pan so any water that reaches that plane drains outward, not into the wall cavity. Side and head flashing integrate with the house wrap in proper shingle-lap order — head flashing last, over the wrap, so water is directed out and down at every layer.
Setting the Window
The unit gets set plumb, level, and square, then fastened through the nailing fin per the manufacturer's schedule — skipping or under-driving fasteners is a common shortcut that shows up later as air and water infiltration. We check reveal and operation before final fastening, not after, so a warped or racked frame doesn't get sealed in place.
Sealant and Backer Rod
Sealant is a backup to the flashing system, not the primary defense — it's the layer that fails first if it's asked to do all the work. We use backer rod where gaps call for it and a sealant compatible with both the window frame material and the WRB, since incompatible sealants can degrade or fail to bond over time.
Interior Air Sealing and Insulation
The gap between the rough opening and the window frame gets sealed and insulated on the interior side too — low-expansion foam or backer rod plus sealant, not stuffed fiberglass, which does little for air sealing and nothing for water management.
Choosing the Right Window for a Birch Bay Exposure
Frame material and glazing package both matter more on a waterfront lot than they would a few miles inland.
| Factor | Consideration for Birch Bay |
|---|---|
| Frame material | Vinyl and fiberglass resist salt-air corrosion well; aluminum requires a marine-grade finish or it will pit and corrode faster here than inland |
| Hardware finish | Look for coastal or corrosion-resistant hardware ratings; standard hardware finishes can degrade faster in salt air |
| Glazing | Double-pane with a low-E coating is standard; on exposed westerly or waterfront elevations, laminated or impact-resistant glass is worth pricing for added durability against wind-driven debris |
| Weatherstripping | Quality compression seals matter more where wind-driven rain is a regular event, not an occasional storm |
| Sill design | A properly sloped, drainable sill matters more on north/shaded elevations prone to prolonged dampness and moss |
Our Process on a Birch Bay New-Construction Job
- Site walk and plan review — we look at elevation, exposure, and wall assembly before recommending window specs, not after.
- Rough opening prep — sill pan flashing, WRB integration points confirmed before the window arrives.
- Window set and fastening — plumb, level, square, fastened to manufacturer schedule.
- Flashing integration — shingle-lap sequence with house wrap, checked before siding crews close it up.
- Interior seal and insulation — air sealing and insulation at the rough opening gap.
- Final check — operation, reveal, and visible seal inspection before we sign off.
What to Ask Before Siding Goes On
- Was a sloped sill pan installed under every window, not just the exposed ones?
- Is the flashing sequence shingle-lapped so water sheds outward at every layer?
- Were fasteners driven to the manufacturer's schedule, not just "enough to hold it"?
- Is hardware rated for coastal or corrosion-prone exposure?
- Was the interior gap sealed and insulated, not just foamed and forgotten?
Why a Crew That Already Works Birch Bay Matters
A window install detail that's fine in a sheltered Ferndale neighborhood inland can be undersized for a Birch Bay lot taking direct water exposure. Knowing which elevations on a given lot need the extra attention — corrosion-resistant hardware, upgraded glazing, more conservative flashing overlaps — comes from having done this work on comparable lots nearby, not from a generic install checklist. We coordinate directly with builders and general contractors on new construction, so window rough-in timing lines up with framing and WRB installation instead of becoming a scheduling scramble.
We also stand behind our own installation work. Manufacturer warranties cover the window unit itself; our workmanship warranty covers the flashing, sealing, and integration work we do around it — the part that actually determines whether water stays out of the wall.
Common Mistakes We See on Waterfront Builds
Most window callbacks we get asked to fix trace back to a handful of repeat issues: flashing installed in the wrong order (head flashing tucked under the wrap instead of over it), missing or flat sill pans that let water pool instead of drain, sealant used as the only water defense instead of a backup to proper flashing, and standard-grade hardware that's already showing corrosion within a few years of a salt-air installation. None of these are hard to avoid — they just require doing the sequence correctly the first time, since almost all of it disappears behind siding and trim within days of the window going in.
Get a Straight Answer for Your Project
If you're building or adding on in Birch Bay, we're happy to walk the site, look at your plans, and give you a straightforward estimate on the window package and installation detail that fits your exposure — no pressure, no upsell. Use the form below to request a free estimate.