 Ferndale
 New-Construction vs. Replacement: Why the Distinction Matters Here
New-construction windows are a different animal from replacement windows, and the difference matters more on Lummi Island than it does in a lot of places. A new-construction window has a nailing flange around the frame that gets fastened directly to the sheathing and integrated into the weather-resistive barrier (WRB) before the siding goes on. A replacement window, by contrast, gets set into an existing opening after the original frame is removed or the old sash is pocketed out, with no flange to tie into the wall assembly. Different install method, different flashing details, different failure points.
For a new build, an addition, or a rebuild on the island, you only get one shot at doing the new-construction install correctly. Once the siding closes up the wall, the flashing and flange work underneath it is hidden for the life of the house. On a site exposed to salt air and driving rain off the water, a mistake made at framing stage doesn't show up as a callback next month — it shows up as a stained sill or soft trim two or three winters later, after the warranty conversation has already gotten complicated.
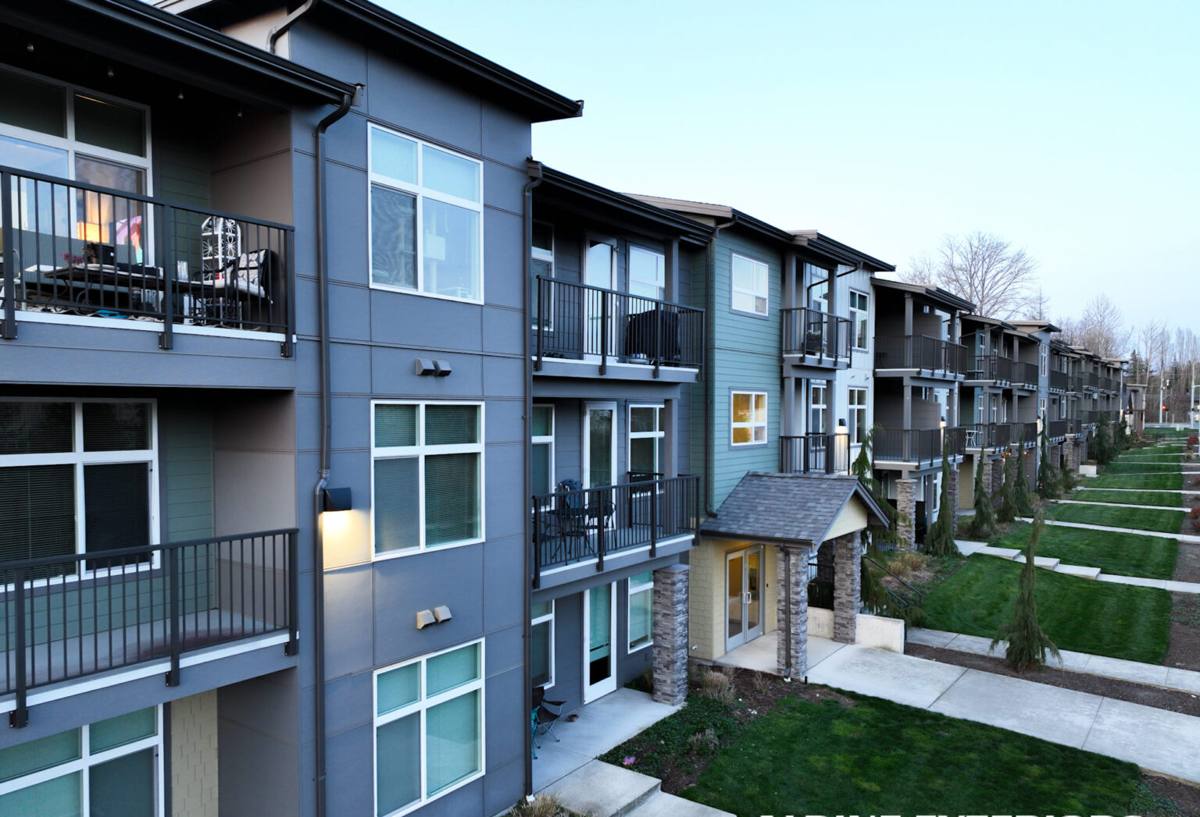
What Lummi Island's Climate Actually Does to a Window Opening
Salt air and hardware corrosion
Homes close to saltwater deal with airborne salt settling on every exposed metal surface — window hardware, screws, flashing, even factory-finished cladding. Ordinary carbon-steel fasteners and non-marine-rated hardware corrode noticeably faster here than they would a few miles inland. It's not dramatic, it's cumulative: a corroded screw head that won't back out for maintenance, a crank mechanism that starts binding, streaking on trim from rust bleed. The fix isn't complicated, but it has to be specified up front — you can't retrofit corrosion resistance after the wall is closed.
Wind-driven rain
Rain on an exposed waterfront or near-waterfront lot doesn't just fall — wind pushes it sideways and drives it upward under sills and around trim. A flashing detail that would hold up fine in a sheltered inland yard can leak here because it was only ever designed to shed water moving straight down. Window openings on exposed elevations need flashing that assumes water will hit the opening from the side and from below, not just from above.
The long moss season
Shaded, tree-covered lots — common on the island — stay damp for months at a stretch. That supports moss and algae growth on horizontal surfaces: sills, trim caps, anywhere water sits instead of draining. Organic growth on window trim isn't just cosmetic; it holds moisture against wood longer than bare material would, and if it works its way under a poorly lapped WRB or a caulk-only seam, it accelerates rot in a spot you can't see until it's advanced.
The Installation Details That Separate a Correct Job from a Callback
A new-construction window install lives or dies on flashing sequence, not on the window itself. The window is the same product whether it's installed right or wrong. What varies is everything around it:
- Sloped sill pan flashing with a back dam, not just a strip of tape laid flat across the rough sill — this is the single biggest factor in whether water that gets past the exterior finish actually drains back out instead of pooling under the frame.
- Correct lap order — sill flashing first, then jamb flashing, then head flashing, then the WRB integrated over the top so water always sheds downward and outward, never into a seam.
- Fastening schedule matched to the window's tested design pressure (DP) rating, not just "enough screws to hold it" — this is what keeps the unit sealed under real wind load, not just under still-air conditions.
- Shimming for true square, level, and plumb — a racked frame won't let the weatherstripping compress evenly, and an uneven seal is where wind-driven rain finds its way in first.
- Sealant used to supplement flashing, not replace it — caulk fails and gets missed at maintenance time; flashing is the layer that's still doing its job whether or not anyone's kept up on caulking.
Choosing Window Materials and Frames for a Coastal Site
There's no single "right" window brand for a coastal build — the right choice depends on the site's exposure, the builder's spec, and what the homeowner wants to maintain over time. What does matter is being honest about how different frame materials hold up in salt air and damp shade.
| Frame Material | Salt Air / Corrosion | Maintenance in Damp Shade | Typical Cost Tier |
|---|---|---|---|
| Vinyl | Doesn't corrode; UV and salt exposure mainly affect color/finish over decades | Low — occasional wash, no refinishing | Lower to mid |
| Fiberglass | Very stable; won't pit or corrode, holds paint well if finished | Low | Mid to upper |
| Wood, clad exterior | Cladding protects the exterior face, but any exposed wood (sills, interior) needs upkeep | Moderate to high — interior wood especially in damp, shaded rooms | Upper |
| Aluminum | Can pit and corrode faster near saltwater unless marine-grade and properly finished | Moderate — finish and fasteners need attention over time | Mid |
Hardware is a separate decision from frame material. Whatever frame gets specified, we push for corrosion-resistant (stainless or marine-rated) fasteners and hinge/crank hardware on any elevation with direct water exposure — it's a small line-item difference at construction time and a real difference in how the windows operate ten years in.
Meeting Washington's Energy Code Without Overspending
New-construction windows in Whatcom County have to meet the U-factor and solar heat gain minimums set by Washington's state energy code, verified at inspection along with the rest of the building envelope. Those prescriptive numbers get updated with each code cycle, so rather than quote a figure that may already be out of date by the time you read this, we confirm the current minimum with the county's permitting office and the window schedule before ordering — that's a five-minute check that avoids a rejected inspection or a window swap after the fact.
Beyond the code minimum, there's a real argument for going a step better on a damp, shaded, coastal lot: better U-factor and Low-E coatings mean less condensation on interior glass in a climate that already runs high humidity for long stretches of the year. It's not required, but it's worth discussing before the order goes in rather than after.
How We Handle New-Construction Windows on Lummi Island
- Coordinate with the builder's framing schedule. We verify rough openings against the approved window schedule before anything ships — a mismatch caught now costs nothing; caught after the windows arrive, it costs a delay.
- Confirm the actual specs, not just the model number. DP rating for the site's exposure, U-factor and SHGC for code, tempered or safety glazing anywhere it's required (stairwells, low sills, near doors), and hardware finish for the corrosion environment.
- Install flashing and windows as one integrated sequence with the WRB — sill pan, jambs, head, WRB lap, in that order, on every opening, every time.
- Document the flashing before it's covered. Once siding closes the wall, that work is out of sight for good, so we make sure it's done right and recorded while it's still visible.
- Final adjustment and operation check on every unit — hardware function, weatherstrip contact, and a walk-through before we call the install complete.
Scheduling Around Island Logistics
Getting a crew, tools, and a full window order to Lummi Island means working around the ferry, not against it. Weather can affect sailings, and a forgotten piece of flashing tape or a missing fastener isn't a quick run back to the truck the way it would be on a mainland job. We plan crossings to bring everything a given install phase needs in as few, well-organized trips as possible, and we build ferry timing into the schedule we give a builder up front rather than discovering it mid-job. It's a logistics detail, but it's the kind of detail that turns into lost days on-site if it's not planned for.
What to Confirm Before Your Windows Go In
- Rough openings match the approved window schedule, checked before the order ships
- Sill pan flashing is sloped with a back dam — not a flat strip of tape
- WRB lap sequence is sill, jamb, head, in that order
- Fasteners and visible hardware are corrosion-resistant for a coastal site
- DP (design pressure) rating matches the exposure of that specific elevation
- U-factor and SHGC meet the current Washington energy code minimum for the permit
- Tempered or safety glazing is specified anywhere code requires it
- Manufacturer install instructions are on hand and followed — this is what keeps the window warranty intact
- Flashing work is photographed before siding covers it
Why a Crew That Already Works Lummi Island Matters
Any competent installer can hang a window. What's harder to pick up on a first island job is everything around it — planning material and crew trips around ferry timing, knowing which elevations on a given lot actually see driving rain versus which are sheltered by tree cover, specifying hardware that won't be fighting corrosion in five years, and having already worked with the builders and GCs who are active on the island. None of that shows up on a window's spec sheet. It shows up in whether the install still looks and performs the way it should after a few Whatcom County winters.
If you're framing a new home or addition on Lummi Island and want a straight answer on what the window package should look like for your specific lot and exposure, we're glad to walk through it. Reach out for a free, no-pressure estimate using the form below.