 Ferndale
 Siding Repair in Blaine: A Different Job Than Fixing a Wall Inland
Blaine sits right on the water at the northern edge of Whatcom County, close to Semiahmoo Bay and the Canadian border, in a spot that takes more direct weather than most towns even a few miles inland. Salt-laden air off the water, driving rain that comes in sideways during winter storms, and a moss season that can run most of the year on shaded walls all add up to exterior siding that ages faster and fails differently than it would in a drier, more sheltered location. We're based in Ferndale, close enough that Blaine is regular territory for our crew, and repair calls out here tend to follow patterns we don't see as often on inland Whatcom County jobs.
Siding repair sounds like a simple category of work — patch what's damaged, move on — but done correctly it requires the same attention to moisture management, material matching, and installation detail as a full re-side, just on a smaller scale. Done poorly, a repair can look fine for a season or two and then fail again in the same spot, because the underlying cause was never actually addressed. This page covers what siding repair in Blaine actually needs to hold up, how we diagnose and scope it, and why local experience with this specific stretch of coastline matters when you're deciding who to hire.
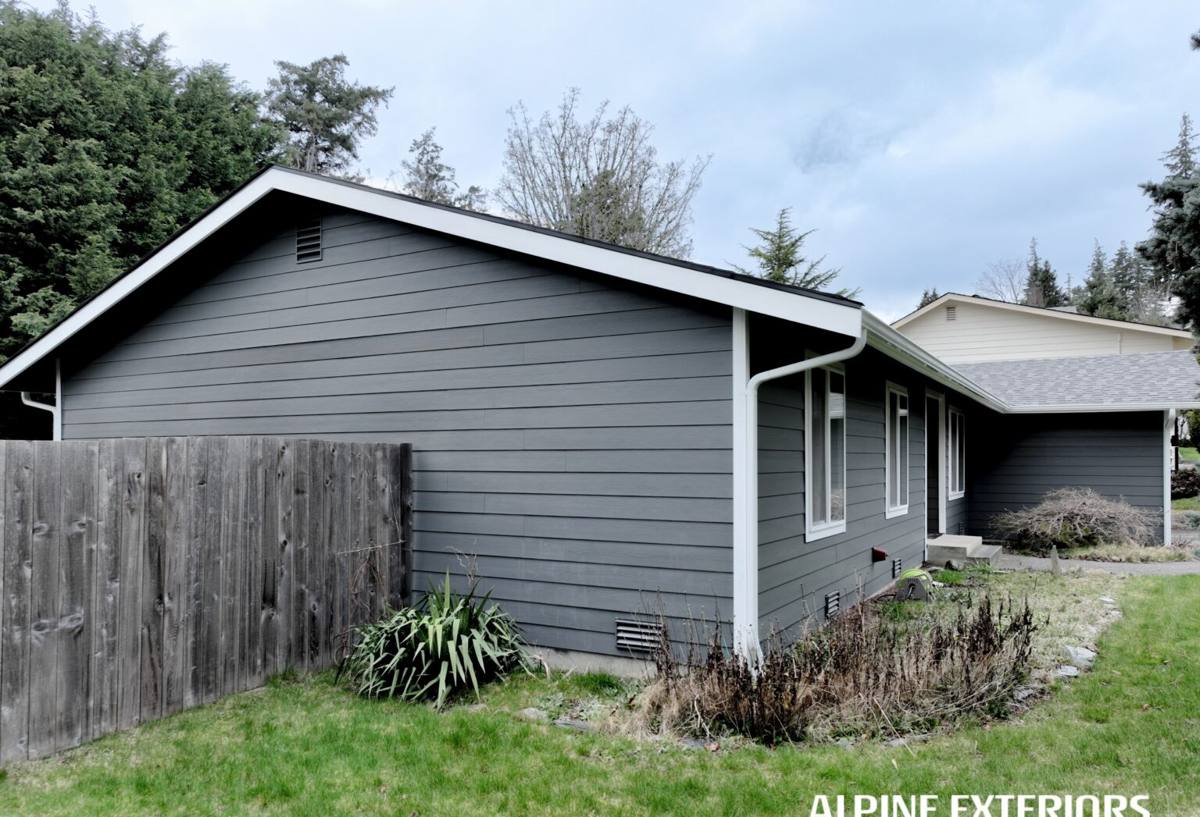
What Repair Calls in Blaine Usually Turn Out to Be
Every repair job starts as a symptom on the wall, but the underlying causes tend to repeat across Blaine homes given the local exposure. The most common issues we run into include:
- Rot or soft material at butt joints, corners, and anywhere boards meet trim, where water collects and lingers longest
- Cracked or split panels from storm debris, wind-driven branches, or simple age and UV exposure
- Failed caulk and sealant at trim, window, and door edges, letting water track behind the siding instead of shedding off it
- Corroded, loosened, or popped fasteners, accelerated by steady salt air off the water
- Persistent moss and mildew staining, and the surface breakdown that follows once organic growth takes hold
- Swelling, delamination, or soft edges on older wood-based or engineered wood siding, especially at cut ends and low courses near grade
Individually, most of these look minor from the ground. The reason they matter is what they usually indicate about what's happening behind the visible surface — and that's the part a repair actually needs to fix, not just cover up.
What a Correct Siding Repair Actually Involves
Diagnosing What's Behind the Damage
A damaged board is a symptom, not the whole problem. Before we replace anything, we check how far moisture has traveled — whether it's contained to the visible panel or has already reached the water-resistive barrier and sheathing behind it. Cutting out a bad board and nailing up a new one without checking what's underneath is how the same spot ends up failing again a year or two later, and it's one of the more common shortcuts we see on repair work done elsewhere.
Matching Material, Profile, and Color the Right Way
Replacement boards need to match the existing siding's exposure, reveal, and profile, or the repaired section will read as an obvious patch rather than a clean fix. Color matching adds another layer of difficulty, particularly on older ColorPlus finishes that have weathered for years — a brand-new board next to sun-faded siding won't match even if it's the correct color code. In some cases the honest answer is that a full wall or elevation needs to be redone for the repair to actually blend, rather than patching a single board and leaving a visible mismatch.
Getting the Water Management Details Right
Caulk is a detail, not a strategy. A repair that relies on sealant to do the job flashing and lap sequencing should be doing is a repair that will need to be redone. Correct repair work means re-establishing proper overlap, confirming flashing at any penetration or trim transition is intact, and fastening to the manufacturer's pattern rather than wherever is fastest. In a town that gets as much wind-driven rain as Blaine does, these details are the difference between a repair that lasts and one that's a temporary fix.
Repair or Replace? How We Make the Call in Blaine
Not every damaged wall needs a full re-side, and not every repair is worth doing instead of replacement. We walk through this honestly with every homeowner rather than defaulting to the bigger job.
| Situation | Usually Points to Repair | Usually Points to Replacement |
|---|---|---|
| Damage extent | Isolated to one or two boards or a single area | Spread across multiple walls or a full elevation |
| Moisture behind the siding | Contained to the damaged section, sheathing dry nearby | Found at multiple points or already reaching framing |
| Cause of the damage | One-time event — impact, storm debris, a single failed joint | Systemic — original material or installation not suited to this climate |
| Repair history | First repair in this area of the house | Same spot has already been patched once and failed again |
| Age and material | Siding is otherwise sound and within its expected service life | Siding is near or past its expected life, or is a product prone to failure in marine exposure |
When repair is the right call, we say so and scope it accordingly. When the underlying material or installation is the actual problem, patching it is a short-term fix that costs money without solving anything — and we'd rather tell a homeowner that upfront than sell a repair we don't expect to hold.
Our Siding Repair Process
- Inspection and diagnosis. We look at the visible damage, check for moisture with a meter where needed, and examine adjacent areas that see the same exposure to see if the problem is isolated or spreading.
- A written scope. You get a clear explanation of what we found, what needs to happen, and why — not just a price, but the reasoning behind it, so you can make an informed decision.
- Sourcing matched materials. We confirm the correct profile, exposure, and color match before work begins, and flag honestly if an exact match isn't realistic given how much the existing siding has weathered.
- Removal and correction. Damaged material comes off, and anything found behind it — compromised house wrap, soft sheathing, failed flashing — gets addressed before new siding goes back up.
- Installation to spec. New boards go in with correct fastening, flashing, and sealant placement, matching manufacturer installation requirements rather than cutting corners to save time.
- Cleanup and walkthrough. We clear debris and walk the repaired area with you so you know exactly what was done and why.
Why We Repair and Rebuild With James Hardie Fiber Cement
We install James Hardie fiber cement exclusively, and that standard carries into repair work as well. When existing siding is already Hardie, repairs are usually straightforward — matching the correct plank or panel profile and getting as close a color match as the weathered original allows. When a home has a different material on it and the damaged section is beyond a simple patch, we're upfront that our standard is to rebuild with Hardie rather than replace like-for-like with a product we've chosen not to install, and we'll explain exactly why before any work starts.
Part of that reasoning is climate-specific. Hardie's HZ5 formulation is engineered for regions with heavy moisture exposure and freeze-thaw cycling, which fits western Washington's marine climate well, and it's a meaningfully different product than the HZ10 line built for hot, humid regions of the country. The factory-applied ColorPlus finish also holds up to salt air and constant moisture better than field-applied paint, which matters directly on repair work near the water — a touched-up or repainted patch is more likely to weather visibly different from the surrounding wall within a year or two, while a factory-finished Hardie board holds its color far longer.
Why a Blaine-Familiar Crew Matters for Repair Work
Repair work rewards local knowledge in a way new construction doesn't always demand. A crew that's worked on Blaine homes regularly knows which walls take the worst of the wind-driven rain, where moss tends to establish first, and which original installation shortcuts show up most often on homes of a certain age in this area. That experience shapes the diagnosis — knowing what to check beyond the obvious damage — and it shapes the fix, since the right repair detail for a wall exposed to Blaine's coastal weather isn't always the same as the textbook answer for a calmer, inland location. It also means a shorter drive if something needs a follow-up look, which matters more with repair work than with a one-time install.
Signs Your Blaine Home May Need Siding Repair
A quick walk around the exterior once or twice a year can catch problems while they're still a repair rather than a replacement. Look for:
- Soft or spongy spots when you press on siding, especially low on the wall or near grade
- Cracked, split, or visibly separated boards, particularly after a storm
- Gaps opening up at panel joints or corner trim
- Rust staining or corrosion around fasteners and metal trim
- Moss, mildew, or dark staining that returns quickly after cleaning
- Peeling interior paint, a musty smell, or soft drywall along exterior-facing walls
Any one of these is worth a closer look before it has a chance to spread into a bigger, more expensive problem.
If you're seeing damage on your Blaine home and aren't sure whether it needs a repair or something more, we're glad to take a look and give you a straightforward, no-pressure read on what we find. Reach out using the form below to schedule a free estimate.